A friend of mine, Les Palenik, is facilitating a "Birds of Prey" workshop at the Canadian Raptor Conservancy in Vittoria, west of Port Dover, Ontario. You get to shoot eagles, hawks, owls both on perches and in flight, and he promises owl chicks as well (owlets?).
The date is May 12th and the price is very reasonable, but I'll let Les tell you more about it: here's the link.
There are still some spaces available on this workshop, but I'll bet it will fill up fast, so wander over to his site and get signed up. I will be there, for sure! The birds in flight part excites me the most. When I asked him, Les said a 200mm lens should do, but I'm bringing the 400 as well!.
It's only a couple of hours out of Toronto, but I know that several of my readers live or cottage in the area, so this is a great opportunity!
Lightroom 5 Beta
Kelby did a quick review of the new features of LR5 on
YouTube.
I wonder how long it will be before his new book on LR5
will be out (if I sound cynical here, well I am...).
A few other thoughts...
- I've read on TIF and one other place (G+?) that the LR5 Beta is crashing Windows...
- The main editing features are one-button straightening (perspective cropping), and the new spot-removal and adjustment brush options. These are functions that you can do in Photoshop CS6 (well maybe not one-button...). I get that these are time-savers for those who edit lots of images and don't want to go out to Photoshop all the time. That's not a concern for me since I only edit a few pictures at a time (typically spending 30-60 minutes on each one) and there's always other stuff I want to do in Photoshop, but I see how others might find this useful.
- They did add a radial version of the graduated filter and allowed you to select it multiple times and stack them. And since you can adjust all kinds of things (exposure, contrast, highlights, blacks, clarity, sharpening, saturation, and so on), you can essentially add all kinds of lighting effects in multiple areas, much like control points in the Nik products. That one looks quite cool.
I'm not going to install this beta. Adopting Lightroom 4
early caused me a lot of grief: as I said elsewhere, they didn't solve the
latency issue until 4.3, which made LR painful to use for quite some time. So I
think I'll wait.
I also wonder what the upgrade policy is going to be.
Adobé's strategy seems to have been to cut the price of LR in half, attract
tons more customers, then pull the rug out a year earlier than usual with a new
version. Guessing they'll want $79 to upgrade, that means all those new
customers they sucked in will end up paying them the original $150 for the
privilege.
Just musing...
Haliburton Home & Cottage Show
Our space is confirmed. Booth #204 in the Curling Club (hope we can find a way to block that ugly green arc-lamp lighting!). Linda Cresswell and I will be sharing this space and selling prints ranging from card size up to a 40x60 canvas Linda has planned (not too many of those, Linda: we only have 10' x 10' to display in!). I'll also be talking about and taking bookings for my DSLR courses and there will be at least one give-away to visitors.
The show is on the weekend of May 31 - June 2, in the beautiful village of Haliburton.
Even if you don't have a home or cottage in the Highlands, it's worth coming up for a visit. Lots to see and do, and Haliburton is home to many artisans and artists (the Fleming College campus of the Haliburton School of the Arts is here). More information to come...
Panning moving water
The other day, Linda and I were talking on the phone and she came across this outstanding artist, +Ursula I Abresch. A picture's worth 1000 words, but I don't post other people's work on my blog without permission, so here's a link to her 500px gallery site.
To see the images that I consider the most stunning, scroll down to the bottom third of that page. It's really worth the visit.
While we were talking, Linda was exploring her sites and content (I can't multitask, she can!). She came across a bit about how she creates these images, which involves shooting reflections in pans of water. But along the way, she read something about "panning moving water" and my ears perked up.
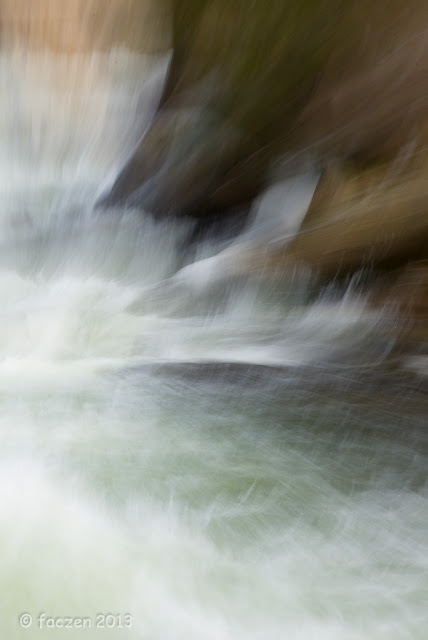
Yesterday, I was driving by the whitewater (no eagles again yesterday) and stopped to try some stuff. You can get some very interesting effects by panning:
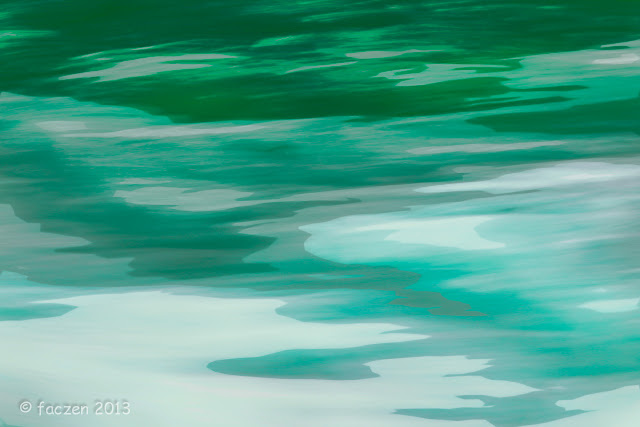
While I was there, I thought, "what about zooming?" I did a few slow shutter speed zooms and got several interesting abstracts, including this one:
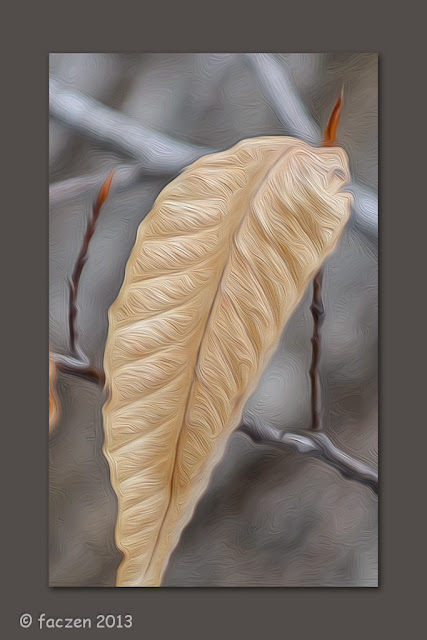
There's something magical about the oil paint filter in Photoshop CS6.
 |
Black Ash leaf still hanging in early spring. |
A little background here. Out for a walk the other day, with the D600 and the 70-200 f/2.8 around my neck. Nothing much to shoot, maybe I got one other shot of a snow drift that looked like shooting the Rocky Mountains out of an airplane window. I saw this leaf fluttering in the wind, opened up to f/2.8 and shot it with a dark-ish background. I was taken by the texture brought out by the afternoon light. Problem is, it was surrounded by its brothers at different distances, so it was hard to isolate. Also the tip of the leaf wasn't pristine. So I cropped it really tight, in fact the final image is only 1000 px wide, so I can't do much with it.
I spent half an hour playing with sharpening and Topaz, then abandoned most of it because I had lost the subtle texture in favour of oversharpening. Yes, the Nikon 200mm and D600 combo is sharp and renders colours really well, but it was the texture that drew me to this one. Then I thought I'd try the oil paint filter...
Now I don't like what it does to continuous toned backgrounds and I'm not taken by the "shine", although you need a little. So I reduced the shine to a very low number and then masked it out on everything but the leaf and the sharp buds and twigs.
When I looked at the jpeg on a white screen, I didn't like it, so I went back and created a mat using a colour I sampled from the image.
I don't know what draws me to this filter effect. Rosa hates it on principle, says I'm trying to fake a painting. Yeah, so???
PS: wish I had the tip of the leaf...
That's all for now. Go look at Les's workshop if you haven't already. Should be interesting! And don't forget to subscribe to my mailing list. I'm going to be giving away free stuff to subscribers, and you want to be there!
— 30 —


No comments:
Post a Comment