
I scared myself this morning. I thought I lost my watch. I took it off to go in the shower last night, I have a clear muscle memory of taking it off, but zero recall after that. Where did I put it down? To set the scenario, I was in the living room when I decided to shower, walked to the bedroom, undressed, grabbed my robe and went in the bathroom to shower. Not a lot of places I could have put the watch, the most obvious being on the dresser where I always put it.
I'll shorten the story to say it was in the laundry hamper with the shirt I took off, but why? No way I threw it in there, and I take care of things... why does this bug me? Because a couple of weeks ago I actually LOST a hard drive, you read about it here. I mentally went back to that incident and thought, "here we go again. I'm losing it". The scary connection to both incidents is the complete lack of memory of my action after I had the hard drive pouch in my hand, and ditto after taking the watch off my wrist.
Analysing my life, I've always been an "A place for everything, everything in its place" kind of guy. Even when I was growing up and my bedroom didn't have an inch of surface that wasn't a foot deep in 'stuff', I knew where everything was. If I'm going to survive my senior years (well, I'm not coming out the other end, but you know what I mean!), I'm going to have to concentrate on that "everything in its place" mantra.
Has anyone seen my cellphone?
That was "sporadic musing #1".
Watch Television
If you're a photographer, watch television. And when you do, notice technical things.
I guarantee you, whatever you're watching when you turn on the TV, the cameraman has composed the shot and 9 times out of 10, s/he's used the Rule of Thirds. Look at the focus. Look at the depth of field. Look at the clean background, the way you clearly know what the subject is in the shot. And look at the lighting.
If you're looking at a talking head, notice the way the face is lit. A sitcom? Look at the set. A movie is even more obvious, they create moods with lighting.
But even better, look at advertisements! Lately I've seen a lot of photography talk about shooting cars: long workshops on how to light them, backgrounds, camera angles... and yet every 10 minutes we see an ad where the car is perfectly lit: no unexpected reflections, even smooth lighting, meaningful backgrounds and mood lighting.
Why is that? For one thing, the videographer is a professional. S/he's studied this stuff and uses it every day in his or her work. For another, they have more lights than B&H Photo, people to build and paint and move things and again the knowledge where to put what.
So if you're a photographer, watch television. Put on your critical eyes and learn. If you make your pictures look like TV, you'll be a winner.
You can take this one of two ways: "I can never be that good, I don't have the equipment, the budget..." or "look what they did. I can do that. Maybe I don't have all those resources but I can try with what I have". Your choice!
PS, when you're finished watching television, read magazine ads...
That was Sporadic Musing #2.
Back Button Focusing
This is for the photographers among my readers. I kept hearing about "back button focusing" and decided, without giving it much thought, that it wasn't something I was interested in doing. Then I read up on it and thought I might try it just for fun, but I still didn't see the value in it. Then I tried it. Boy, was I wrong!
There are several advantages:
- You'll never have to decide between Single and Continuous (Nikon: AI-Servo in Canon) again. Or manual focus either!
- Focus and recompose is a total no-brainer
Briefly, here's how it works. You turn off the function in your camera where you hold the shutter release down half-way to focus, and you assign another button on the camera to that role. You set the camera to AF-C (AI Servo) all the time. Now when you want to focus on a non-moving subject, you just press the designated button until focus locks in. If it's a moving subject, you hold down the button and as long as it's in the range of the focus points, the camera will track it and keep it in focus. Press the shutter release to take the picture.
So you're shooting, say, a still life and you need to take the camera down from your eye to adjust something. You've focused by pressing the button, you don't have to do it again! Just like using manual focusing. You were focusing on a bird on a stick and suddenly it decides to fly. Holding down the button, you're in continuous tracking mode!
It's hard to explain why this is such a great method, you have to try it to understand it. However it takes a bit of time (let's say several hundred pictures) before you get comfortable with it, so don't just try it for a few shots and give up. They say to give it 2 weeks. I did, and I'm hooked.
Just a thought... what do the Nikon D3, D4, D800 and Canon 1Dx and 5DMkiii have in common? They all have "AF-ON" buttons on the back of the camera at the top right. Why do you think that might be??? (PS if your camera doesn't, odds are there's a way to program a button for that function).
I'm not going to write a tutorial about it: it's been done to death. If you Google "Back Button Focusing" you'll get 53,600,000 hits. And there are some good YouTube tutorials out there too.
Fireworks pictures
I shot fireworks on July 1. There were lots of tutorials on how, from all kinds of people but I didn't need them: it occurred to me that all I had to do was follow the guidelines I've been talking about for shooting stars! It has a lot in common.
But fireworks are bright, you don't need a fast lens, f/8 is a good starting point with a low ISO. I ended up even darker at f/11 (because they're so bright, the colours will get washed out if you overexpose). All the tutorials make a big deal of how long to leave the shutter open: I open it with the cable release (on a tripod. Did I say you need a tripod? You need a tripod) and leave it open until enough bursts have happened. I found I was using about 5-10 seconds, but I only learned that afterward, at the computer.
See a really pretty burst? Close the shutter and reopen it. The bad part is (at least where I was, in Minden), all the fireworks started at roughly the same spot and went straight up. So they were all around the middle of the frame.
That's where you need your Photoshop skills. Open up a fresh black image, or one with the background you want. If you use a background, really darken the sky (mask, black layer) where the fireworks are going to go. Open the fireworks shots. Darken the Hell out of them, then drag them into the black frame as a new layer. Set the layer blend mode to "Lighten" and you're basically done, except to resize and tweak the burst and move it to where you want it in the picture. Now go get another image.
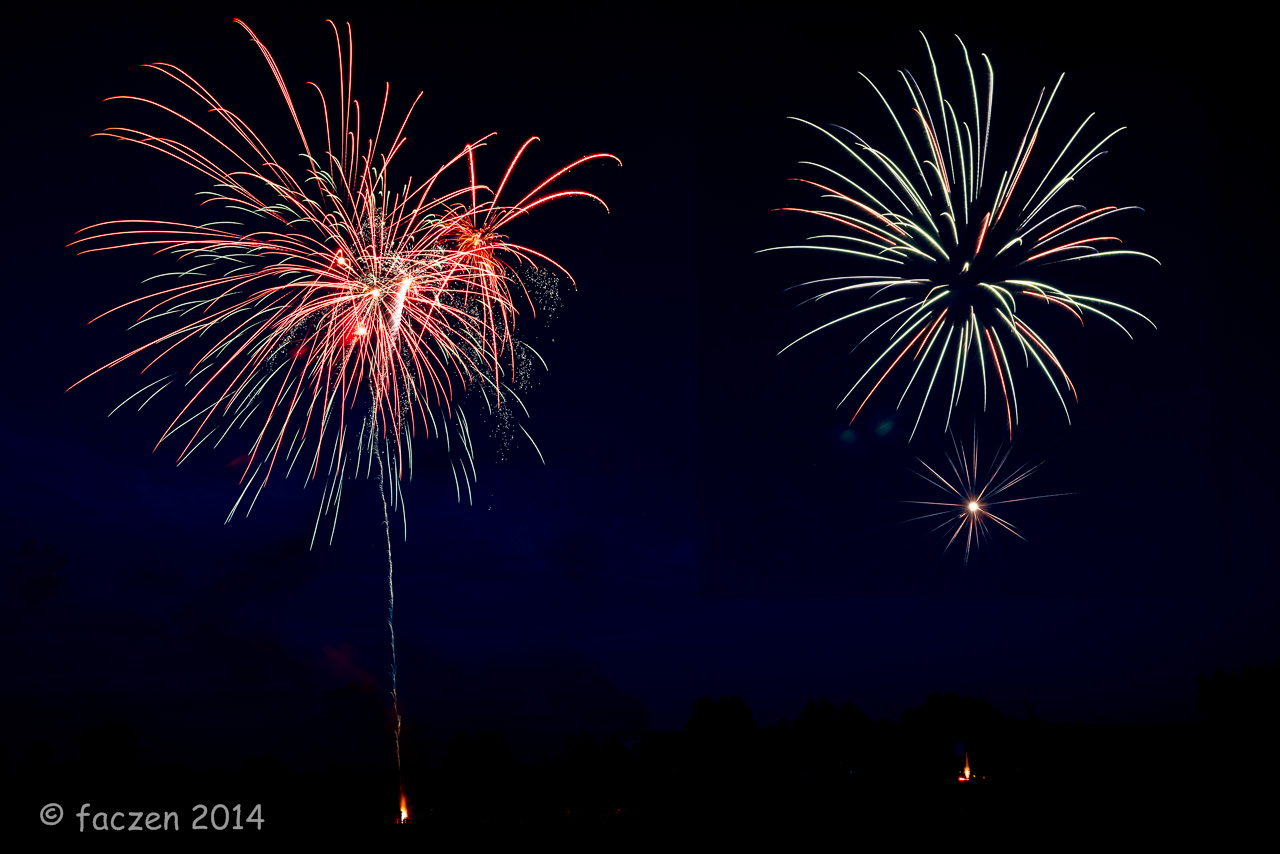 |
I really liked these two bursts. So I put them on a background as described above. I made sure the launch sites were included for a sense of depth.The one on the left had two tendrils off the top of the frame, I patched in curving ends so they stayed in the image. |
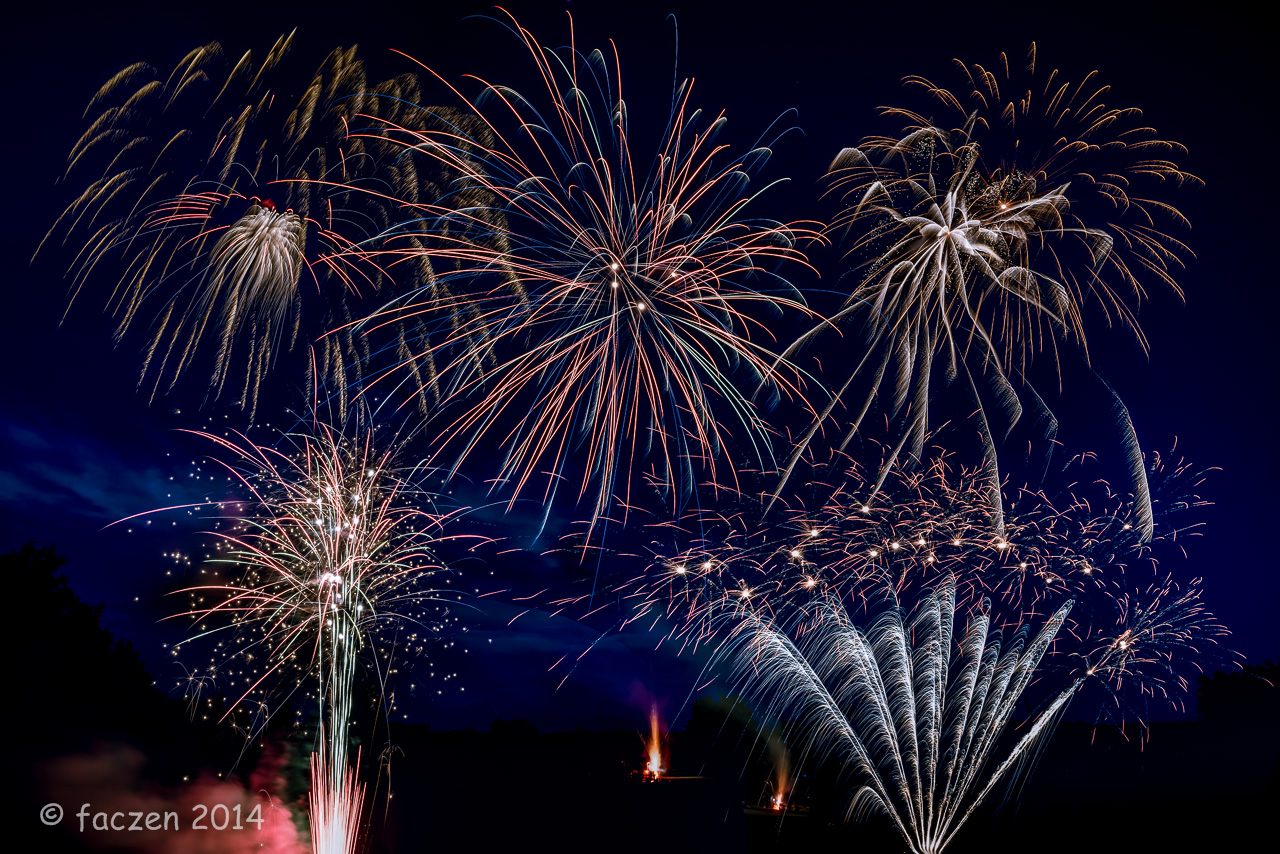 |
Here's one more, this is a composite of 5 or 6 bursts, same background (I was on a tripod, remember?). I added in some firing points and rescaled them in Photoshop, and tweaked some of the bursts (lower right, if I recall) to make it wider and shorter. |
Great practice for shooting stars!
Speaking of Stars...
Thursday (July 3) was cloudy and stormy, but the weather forecast said it was going to clear in the evening. I looked out around 10 and there were still some clouds but a few stars peeked out. I didn't plan it, but I fell asleep in front of the TV for a couple of hours and woke up at 12:30. Crystal clear night, so I went out. I have a couple of spots I wanted to scout for the field portion of the stars workshop and chose one. Turned out pretty good!
When I got there, there was the Milky Way! I had planned to do a star trails shot, but I decided to do the single milky way shot first, and here it is:
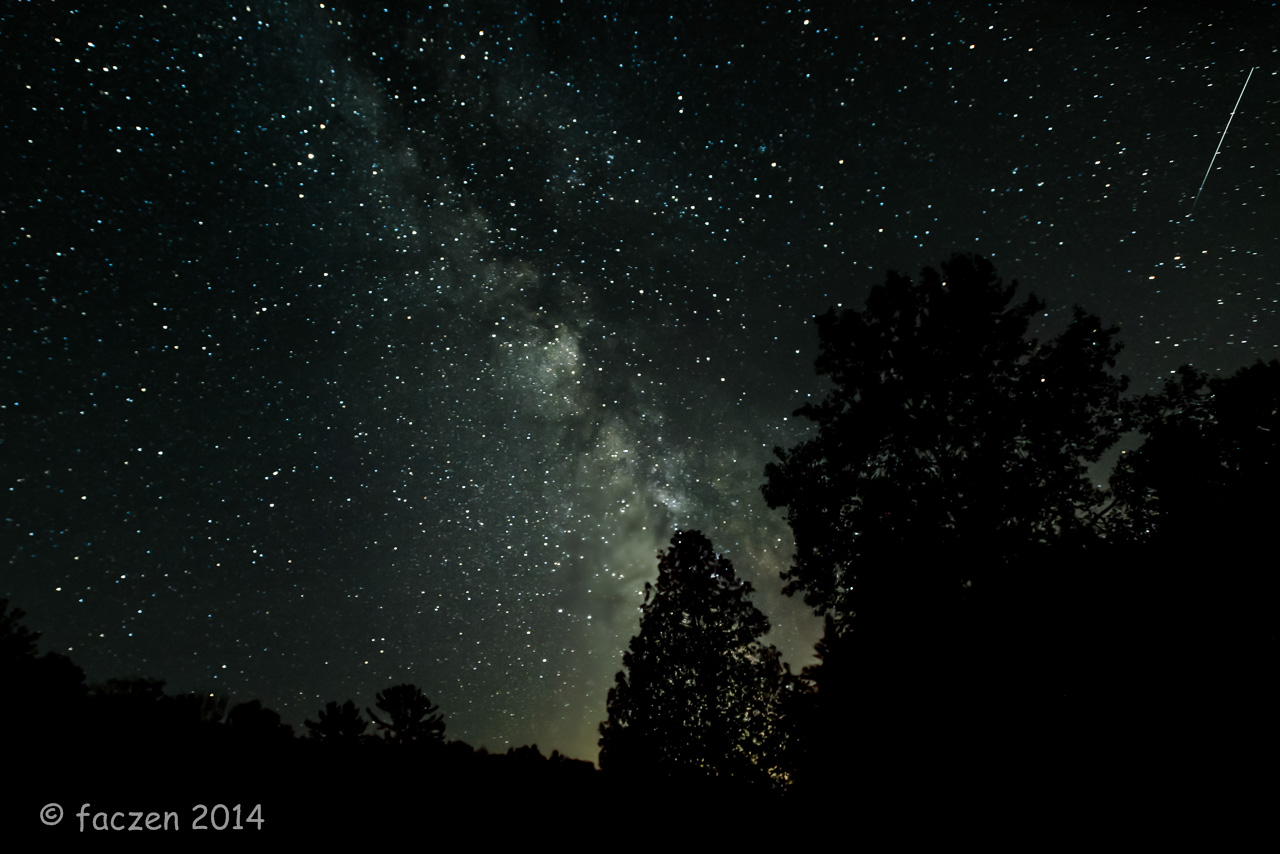 |
Not only that, but I caught a meteor! I saw a couple of others, but not where the camera was pointing. This is a pretty good spot, light pollution was minimal... |
I did a bit of enhancement in Photoshop, for colour balance and to bring out the contrast, etc., but this is basically "As Shot". I cropped a teeny bit off the bottom and left, but it's right out of camera. If you're interested, 30 seconds at f/4, ISO 1600, F=17mm FF. The ISO 800 shot was a bit better but it didn't have the meteor in it!
Then I did a star trails sequence.
 |
90 exposures, 30 seconds each at f/3.5, ISO 800, again 17mm FF. It's a little too bright, too many stars. I might do a little Photoshop and cut it back before blending. If you're doing these, know that the merged picture is going to be brighter than individual images overall. Click the image to blow it up. |
I added in the "flashlight" shot afterwards. After shooting the 90 images (I planned 100, but I lost count!), I went out with the light and stood there for 30 seconds. I had to colour the beam to make it stand out, though!
Two more shots
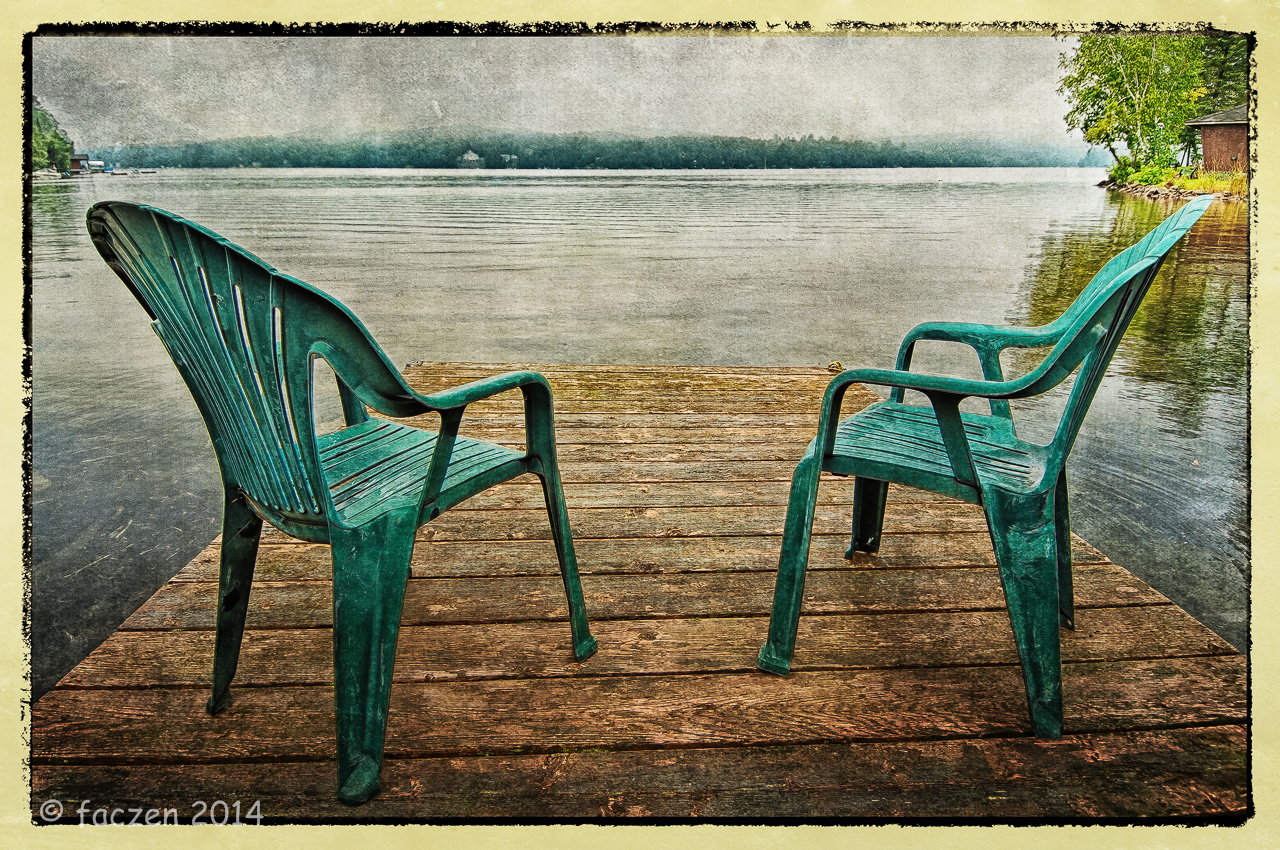 |
I was cleaning out my archives and came across this 5-shot sequence from a couple of years ago that I hadn't processed. I ran it through Nik HDR Efex Pro 2 then added some paper textures and a frame. Too bad they're crummy plastic chairs... |
 | |
|
— 30 —
No comments:
Post a Comment