Would you believe I actually filled up a 4Gb CF-card? And ran out of battery? (I changed the battery, but had left my spare memory cards at home). Anyway, what fascinating photo-ops!
Here are a few shots:
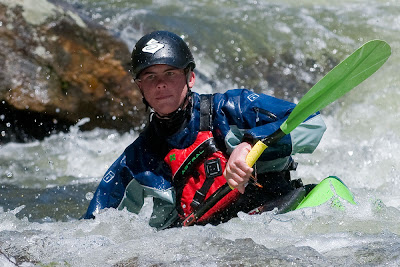
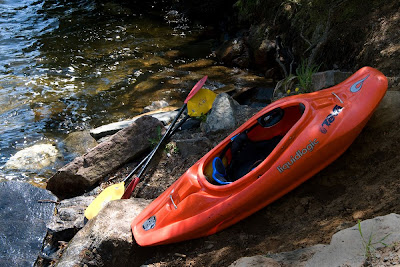
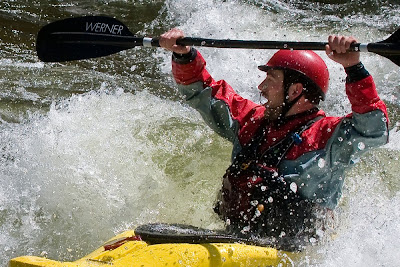
For more, go to my smugmug gallery (click here), find the May 2009 monthly gallery and scroll about halfway down. There are actually two batches, from Saturday and from Monday. Saturday was more challenging because it wasn't sunny and bright and I had to increase the ISO to capture the action.
I wanted to share some pointers with you that might help when you get in an action shooting situation.
Basic rules:
› either use a fast shutter speed or pan with the action (which takes lots of practice)
› be prepared. Things happen fast
› test. Get the lighting, focus and composition set up in advance.
I can't say that I don't enjoy having an excellent camera like the D300. It lets me do some things that lesser cameras don't: but some of these features exist on earlier models (and even on Canon equipment -- LOL!). One great feature is the 6 frame per second high speed mode. And another is the ability to lock the autofocus on a moving target. That feature got me some razor-sharp images of fast moving targets. The trick to tracking moving objects is to keep them in the finder with the release button held halfway down. The computer in the camera will do the rest (sometimes! It can be fooled).
If your camera doesn't have this feature, one suggestion is to manually focus on a predetermined spot and shoot when the target reaches the spot. A higher depth-of-field helps too.
I chose to stop the action using a fast shutter speed. It was a bright, sunny day but when I set the lens to its sweet spot — f/8 — I got about 1/500 second, so I decided to crank the ISO up just a little. I set it to 400, which gave me shutter speeds around 1/1000 sec. I was going to slow things down and pan with the boats, but then I ran out of memory, so I'll save that for another day.
I thought about how to meter the exposures. Averaging didn't work well (I tested it). The excessive brightness of the sun reflecting off the water swamped everything, so I went to spot metering. The D300 lets me move the metering spot off-centre, so I did: I moved it up and to the right, which is mostly where I would put the subject when I composed the shot, so I was usually metering on the kayaker or the boat. It didn't always work, sometimes I composed the photo differently; but it did most of the time. Still, in the end, the bright water did get in the way. Photoshop to the rescue.
When I got home and downloaded the almost 300 images I had shot, I wondered how I was going to decide which ones I liked best. I don't use LightRoom, I prefer Adobe Bridge, but both of those programs will let you flag images. I set the slideshow function in motion, with my hands hovering over the keyboard. Pressing the number 1-5 while viewing an image assigns that many stars to it; pressing ctrl-delete trashes it. Anything soft focus went immediately in the trash.
I assigned "1" to any image that was vaguely interesting for later review. "2" was used for what I thought was a better picture. "3" was for one I definitely wanted to work on, and "4" and "5" were reserved for images I absolutely loved. Out of all those pictures, I gave two 4's and one 5: they happen to be the ones above. The first one got the 5.
Then I went back and looked at the "1's". I upgraded a few. Then the "2's". Same thing. I ended up with about 80 pictures rated 3 or better. I opened two new folders, called "selected" and "alternate" and sorted further. Sometimes, with burst shooting, I had 2 or 3 very similar pictures: one was selected, the others moved to the alternate folder. There were several shots that told a story: a kayaker capsizing, with half a dozen images of the event. I moved those to another folder called "sequences". I actually have those still to work on; I want to do composites or storyboards with those.
Now to the editing. I won't bore you with excessive detail (OK, OK, I already did! But I think the workflow is important when you have several hundred shots to go through) but I will comment on one more trick. In Camera RAW 5.0 there's a great new feature: an adjustment brush. On almost all of the pictures, I used it on the kayaker's face in order to boost the brightness of the face. It works really slick: you paint an area with it then set the attributes for the painted area: exposure, brightness, contrast, black point, etc etc. The face is almost always in shadow (I avoid shooting with direct sun on the face) and it needs a couple of stops more light.
Most of the shots needed some white recovery to minimize the blown out whites on the water. So I created a default correction set and used it almost all the time. Once I had the image in Photoshop, it was a matter of cropping and saving. Nothing fancy.
By the way, the sharpening and other tools in Camera RAW are soft. By that i mean that their effects are subtle even when you crank them up fairly high. You can rarely overdo it. Try it, you'll like it!
So I bent your ear enough. Watch this space: next time I shoot there, I'll try slower exposures and panning with the boats. That will make the images more dynamic, some hints of motion.
Here are a couple more images to enjoy before I go away.
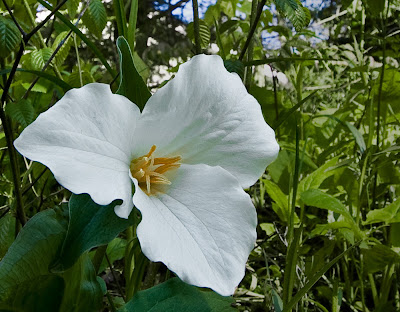
Trillium shot with my ultra wide-angle lens.
I altered the colour of some of the dead foliage in the background.
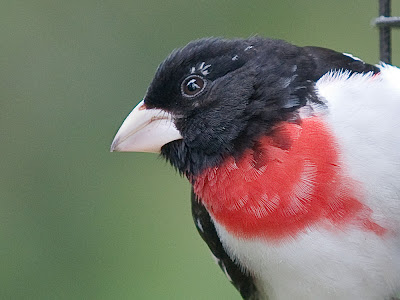
Rose-Breasted Grosbeak male on my bird feeder.


